


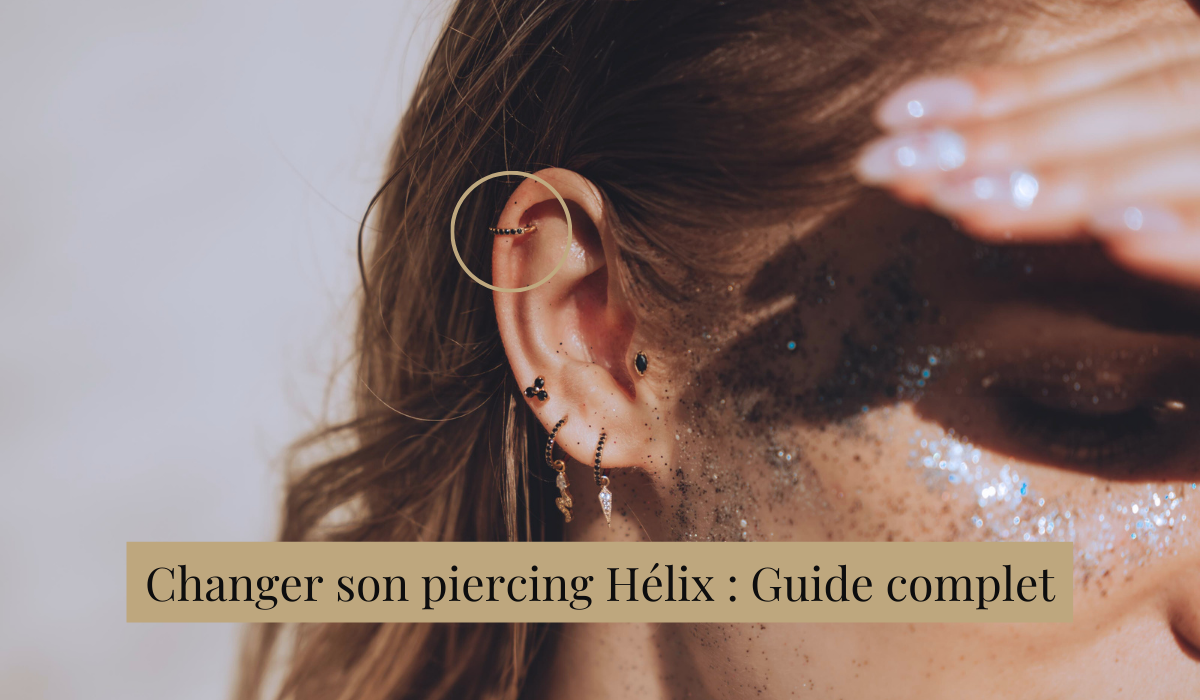
How to Change Your Helix Piercing: Complete Guide
Changing your piercing jewelry can feel intimidating, but don't worry, you're in the right place. In this article, we'll walk you through the process step by step so you can change your helix piercing safely and effectively.
The Steps to Change a Helix Piercing
Advice and Recommendations for a Smooth Jewelry Change
It's important to note that everyone heals at their own pace, shaped by a range of factors, including age, immune system, and even diet. That's why it's essential to factor in your own health and your personal healing rate.
We strongly recommend waiting at least 6 to 9 months, or more, after getting pierced before changing your jewelry. This gives the wound enough time to heal properly and minimizes the risk of irritation or infection. On top of that, changing jewelry too soon can disrupt healing and lead to complications.
Step 1: Getting Ready for the Jewelry Change
Before changing your helix piercing jewelry, make sure you have everything you need close at hand. That includes new jewelry, antibacterial soap, gauze pads, and physiological saline or a suitable saline solution.
Also make sure your hands and the jewelry are clean, to help minimize the risk of irritation or infection. Washing your hands (under the nails, between the fingers...) is a crucial step to avoid bringing bacteria to your ear piercing.
Step 2: Removing the Current Jewelry
After thoroughly washing your hands with antibacterial soap, gently remove the current jewelry from your helix piercing. Be patient and gentle to avoid any risk of trauma or irritation to the pierced area.
Step 3: Cleaning Your Ear and the New Jewelry
Carefully clean your ear and your new jewelry using a gauze pad and physiological saline or a saline solution. Cleaning your ear and the jewelry removes any dirt or bacteria that could cause irritation, inflammation, or infection.
Step 4: Inserting the New Jewelry
Inserting the new jewelry comes after cleaning your ear. This step should be done gently and patiently.
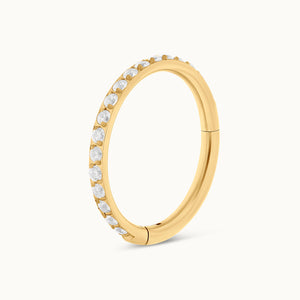
Changing your piercing jewelry can be done on your own, with a friend, or by a piercing professional. That said, we recommend seeing a professional for your very first jewelry change. Piercers have the experience and know-how to make the change safely and effectively, avoiding any potential trauma to the ear. They can also assess how well your piercing has healed and determine whether it's healed enough to allow a jewelry change, especially to a hoop. Their expertise will help you make an informed choice, always with your ear's safety and health in mind.
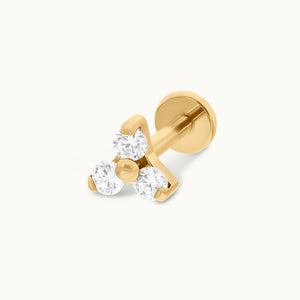
If you'd like to change your helix jewelry at home, we recommend asking someone close to you for help, since threaded jewelry is great for long-term wear but trickier to fit yourself. Make sure your hands stay clean throughout, and pay close attention to how your piercing is healing.
Step 5: Aftercare Once the New Jewelry Is In
Finally, once your new jewelry is in, clean the area around the piercing once more with your saline solution or physiological saline. This helps prevent irritation and keeps the area clean. In the days following the jewelry change, be sure to clean the area regularly. If you run into any issues, including irritation, inflammation, or infection, don't hesitate to reach out to a professional.
By following these steps, you should be able to change your helix piercing jewelry safely. Remember, patience and hygiene are the keys to avoiding complications and ensuring a pain-free jewelry change.